Wednesday, May 11, 2016

Mandolin Back

I have a gorgeous piece of figured maple with spalting for the back soundboard.  My dad cut this tree down in Missoula, Mt about 20 year ago.  The spatling is caused by fungus. The city was expanding Reserve St and needed to take it out.  We were lucky enough to keep it from going to the dump.  This was much harder to carve than the spruce top.  I endured many more blisters than I did carving the top.


Thursday, May 5, 2016

The Neck and Truss rod

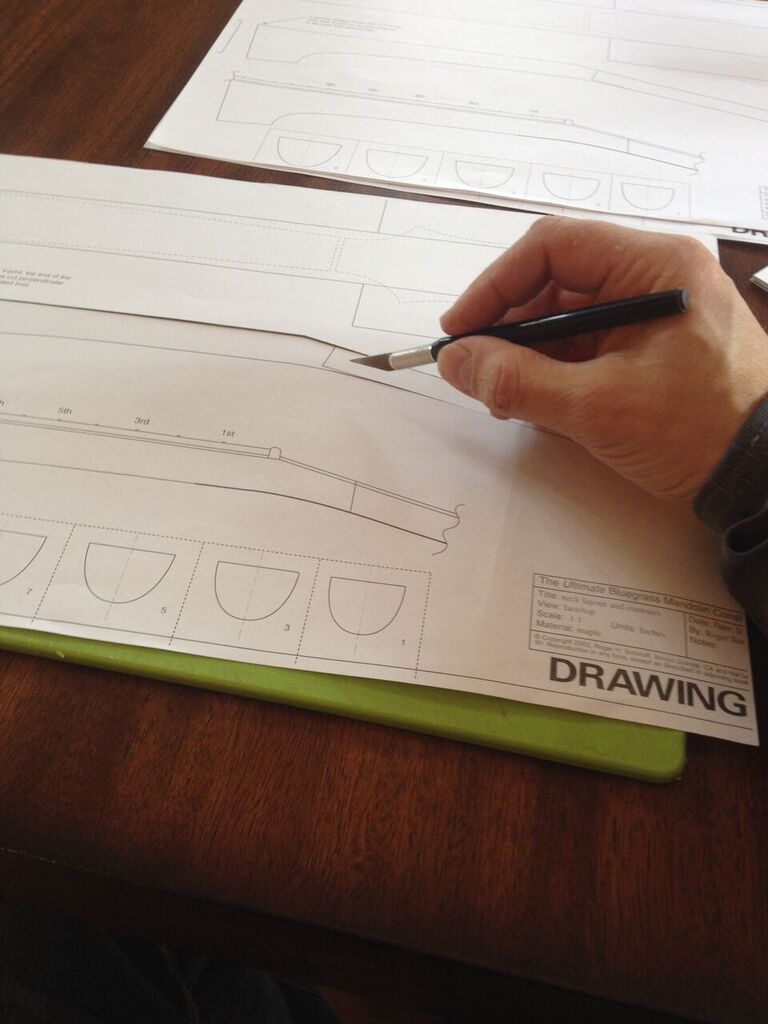
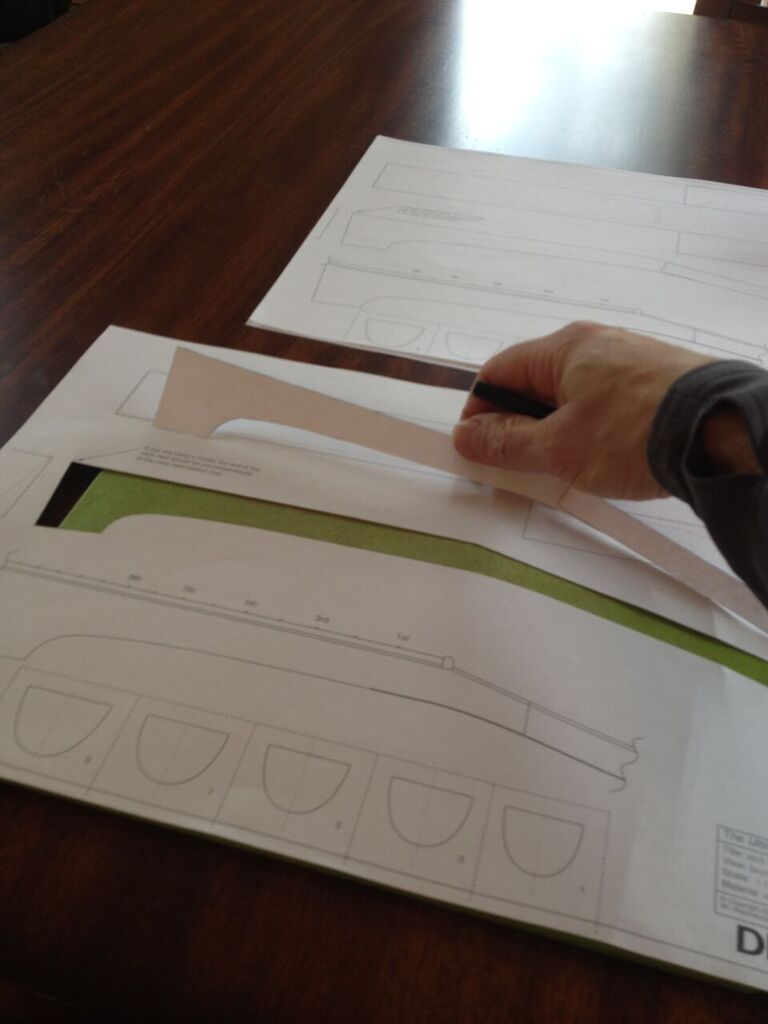
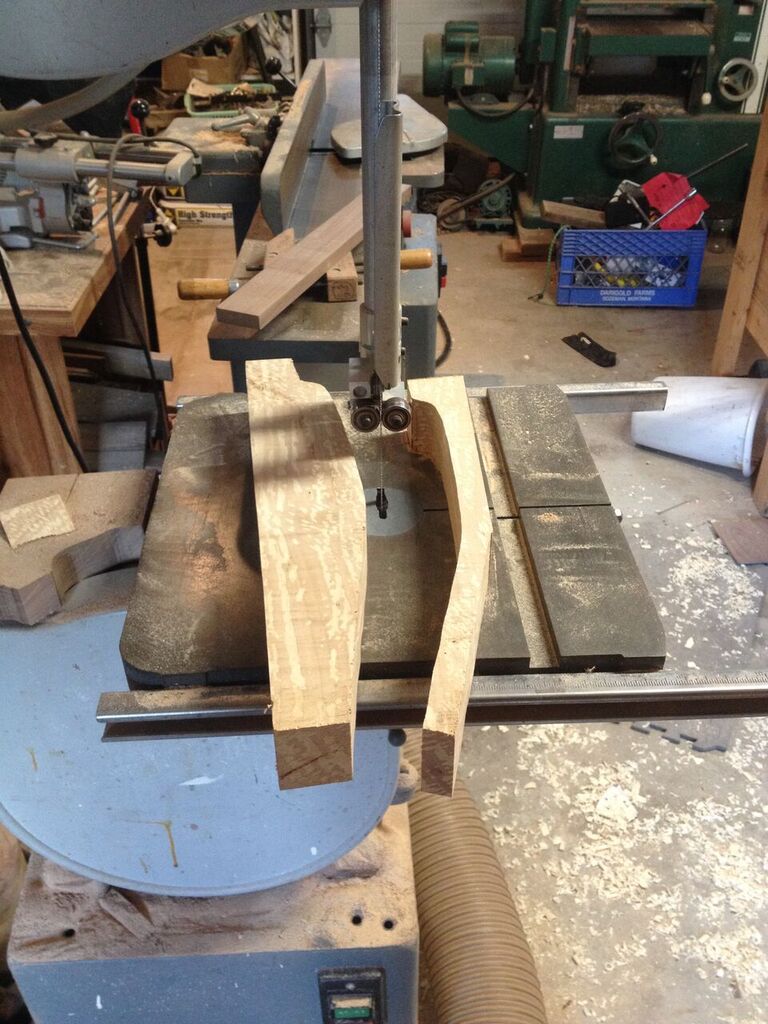
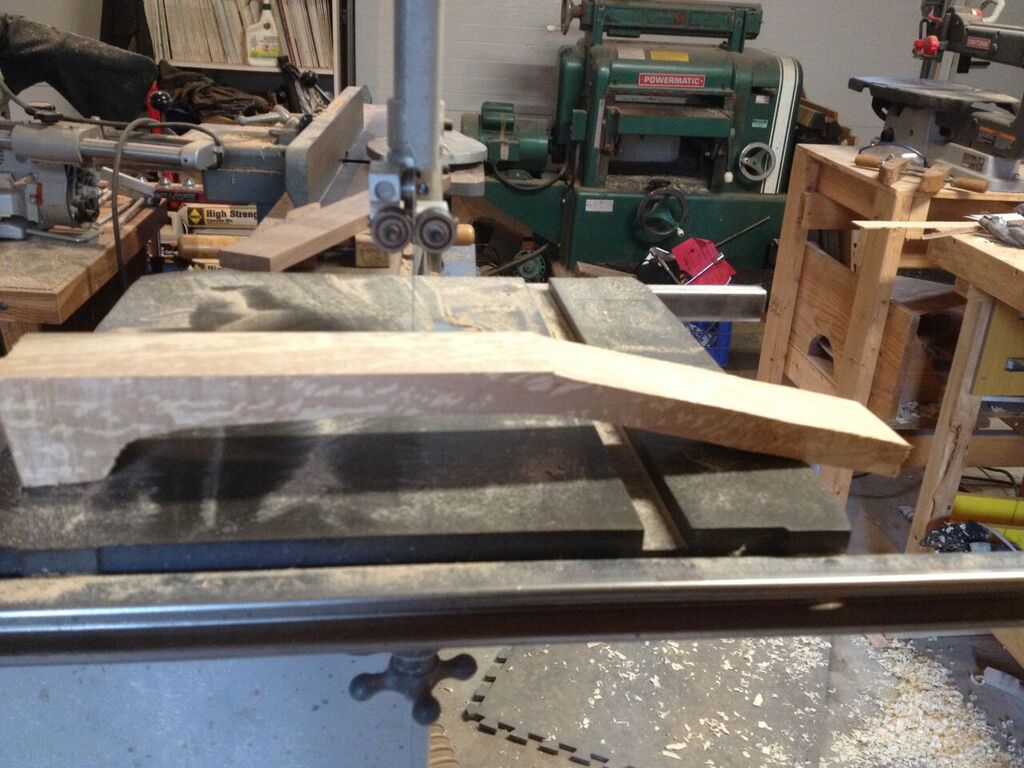
I took a few weeks off to build my deck, but I am back in the shop working on the neck.  Wow, I am a poet.  The initial carving did not take as long as expected.  I cut the pattern of the neck profile out and traced it to my piece of maple.  I used my band-saw to cut the initial shape out.  From there I used various hand rasps to shape the neck and heel. You can only shape the neck to rough dimensions before you must stop and glue the wings to the head-stock on.  Once the veneers are glued on and the head-stock is cut to shape , the final shaping can occur


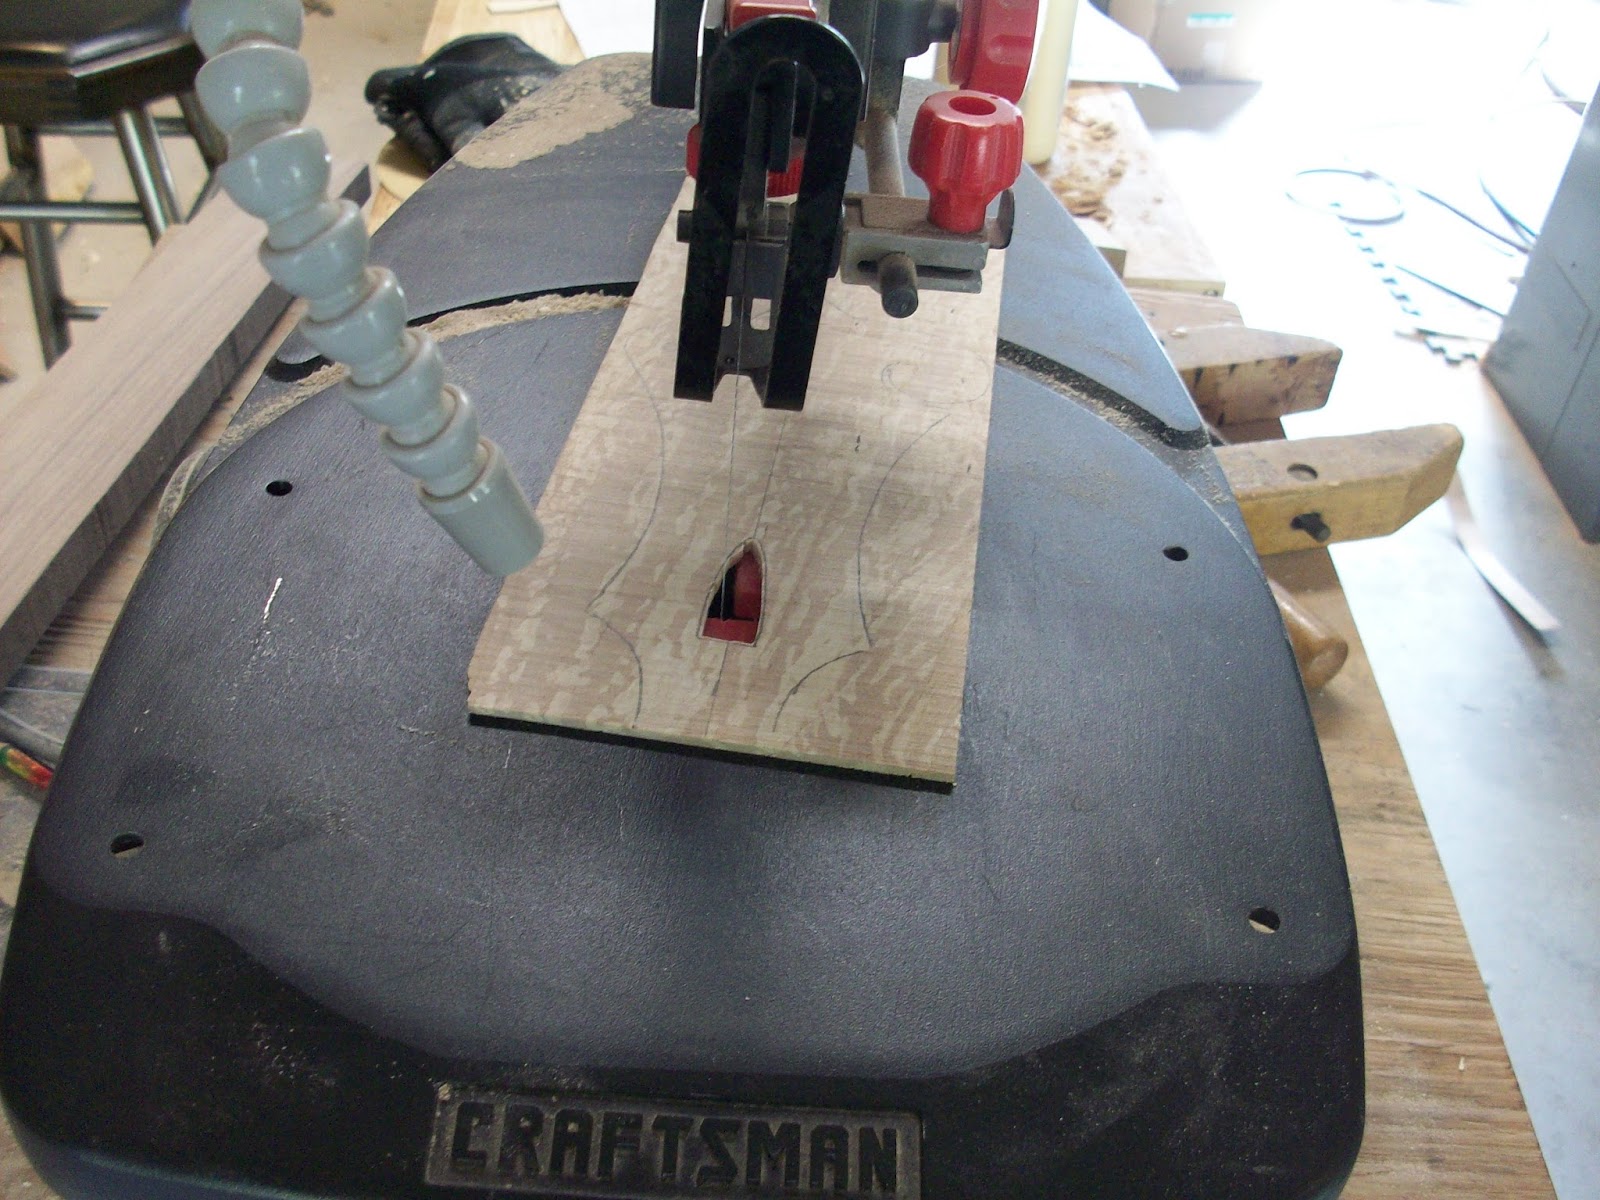
 I just finished gluing on the front and back head stock veneer.  I was originally planning on a piece of Ziricote to match the fingerboard, but in the last minutes of my decision constipation I decided to use a piece of maple.  This will match the neck and back of the mandolin.

The truss rod was more of a pain than expected.  I experienced  my 1st major setback while cutting the slot for the truss rod.  I used a 1/4 inch dado blade on my table saw and flew to close to the Sun on the wings of Icarus. I sawed right through the back of the neck.  I gotta tell ya I was not to pleased.  But in the spirit of craftsmanship I made another neck and moved on.    

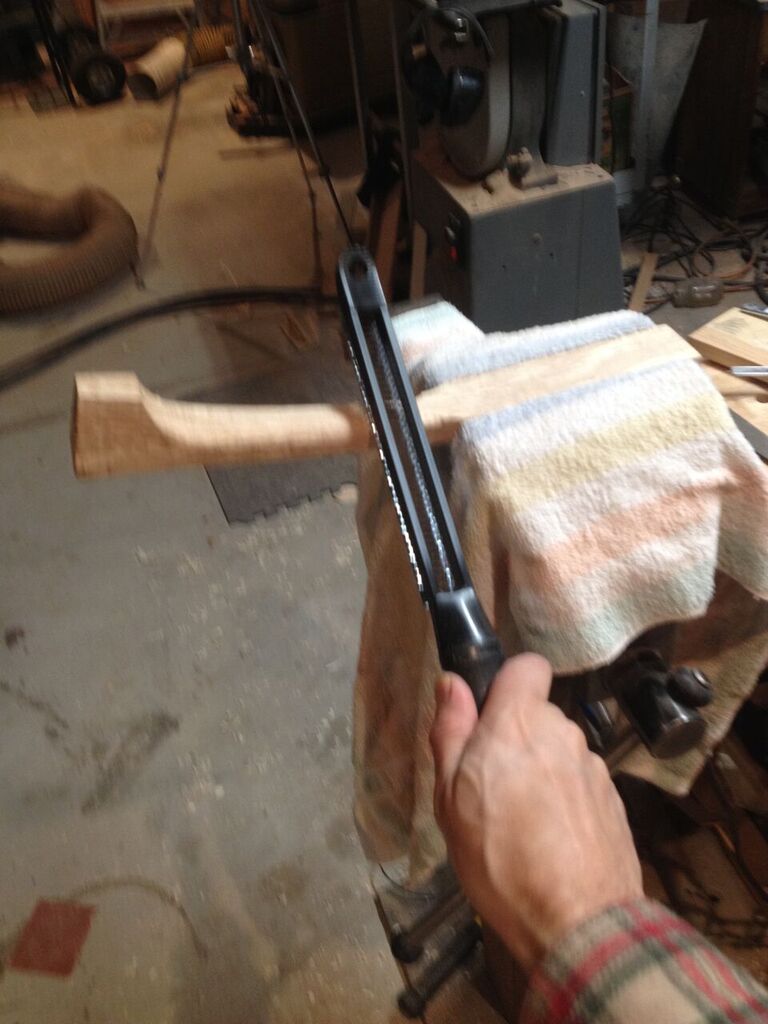
The access hole on the head stock was a bit of a challenge.  I used a Dremel tool and chisels to carve the hole.  It just took longer than I thought.

I am ready to cut the head-stock to final shape and finish the carving of the neck.
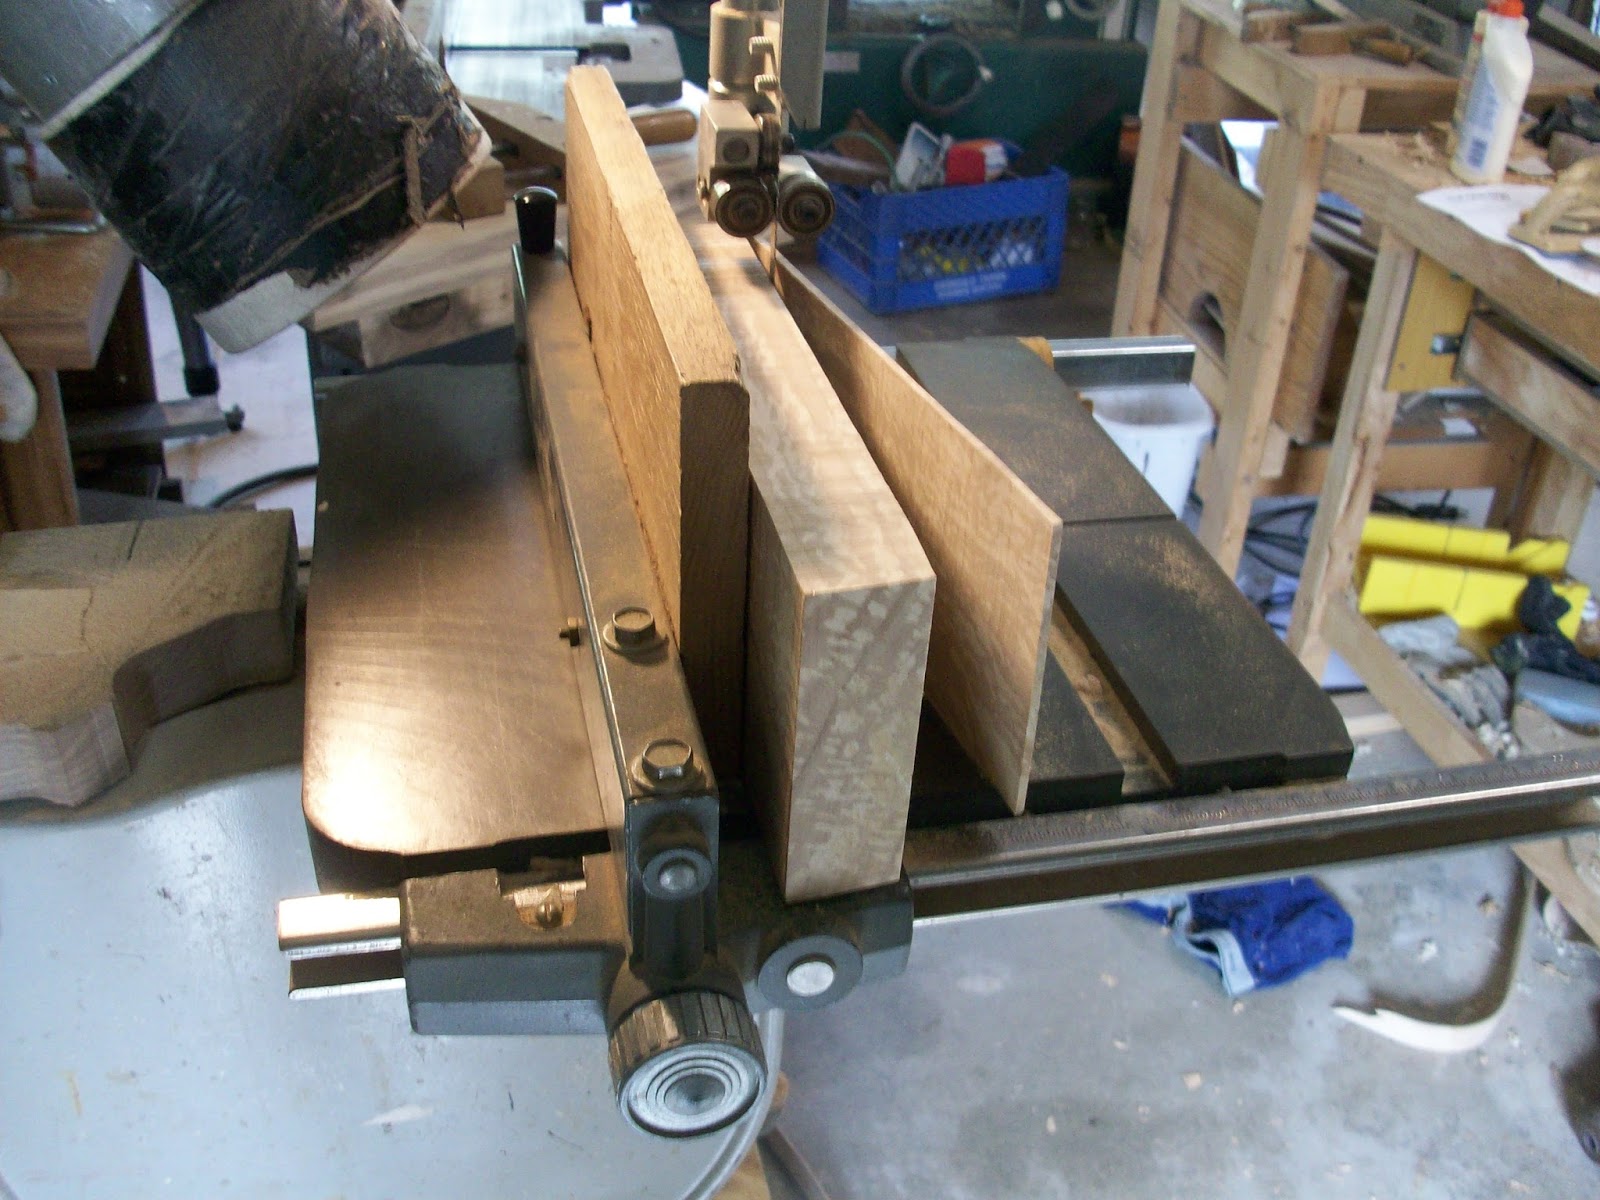


Cutting the Veneer

Gluing the Veneer

Gluing the truss rod filler strip

Friday, March 18, 2016

Finishing the soundboard, cutting the apertures and gluing the tone bars

I am back at it after being sick for a week with hand foot and mouth disease.  I had blisters on my fingers and it was too painful to hold anything.  Doing better now.  I have been busy carving the inside of the soundboard.  It took quite some time since I had to stop an take measurements quite often.

The tone bars were not as hard as I thought to shape to the inside curvature of the soundboard.  I used a small plastic washer and stuck the my pencil through the center.  With the washer held against the side of the tone bar and the lead of the pencil on the tone bar, it rolls nicely along the contour of the soundboard leaving me with a pencil line.  I used a belt sander and a hand plane to sand down to the line.  It worked great and went pretty fast.

I next traced the apertures onto the soundboard.  The inside point of the aperture will be 5 7/8th of an inch from the 15th fret cross piece.  I drilled two holes at both ends to allow the scroll saw a starting spot.  I left a 1/6 or more of an inch from the line so I can sand the final shape once the instrument is assembled.

It was time to glue the tone bars in place.  I used some scrap leather to pad the top of the soundboard from the clamps.  I will let them dry 24 hours and I will be ready to glue the sound board to the rim.


Cutting the tone bars

Drilling holes for the aperture

Gluing the tone bars

Wednesday, March 2, 2016

Gluing the Lining


I felt ambitious this weekend and decided to glue up the rim.  I ruined two neck blocks trying to get a tight fit around the scroll area.  Lucky I have plenty of wood to use.  It was not discouraging other than I had to postpone the plan to glue twice.  The good thing about making a mistake is, you get better at making the component.  I know it will be a trial and error the whole way through, so when I do make a mistake it is expected.

I glued the rim in three stages.  In the DVD I have they make it look so easy and they do it all at once.  I decides why rush on my 1st one.  Glad I did.  It turned out pretty good.

I also glued the lining in as well.  I had to modify the close pins a bit.  They did not open wide enough for the lining.  In my DVD the cloth pins were modified in a special way.  I now know why.  They slip off quite easy without the notch I saw them make.  I did not make the special notch.  Most of the pins worked for me but I see how a notch would help.  If I build another mandolin in the future I will notch the pins.   

The lining looks great except for about 1 inch on the back of the mandolin.  It slipped below the rim.  This is an easy fix and will chisel out the inch and replace it.  It should only take 10 or 15 minutes to fix.  Other than that, I now have a mandolin rim.  


Monday, February 29, 2016

The Kerfed Lining

I cut the kerfing on the lining this weekend.  It is used to hold the sound board and back board to the rim.  The lining is cut or "kerfed" so that it easily can be bent around the rim.  I made a  3/8" x 3/8" strip of walnut on the table saw and then used the band saw at a 45 degree angle to cut the strip in half diagonally.  This will give me the two strips of lining I need for the mandolin.  I then used the jig I made to cut the kefing into the strips of lining.

The jig is simply a board attached to a guild the fits into the table saw miter gauge slot.  The board on top is a backing board for the lining to rest against while cutting the kerf slots.  I am ready to glue the lining in once I an dome gluing up the rim.
  

Kerfing Jig


Saturday, February 27, 2016

Bending The Rim (Done)


I ruined about 10 strips of maple before I succeeded in bending my first mandolin rim.  I took the thickness down to from 1/8th of an inch (.12) to .09.  This time I made sure there were no saw marks at all on the strips of wood before I attempted to bend.  On some of the last attempts, they were not sanded well enough and that’s where the cracks happened the most.  A 1/8th of an inch was way too thick on my last attempts.  I had much better success this last go around.  Using a bending strip is also key to keeping the bend uniform.  I think I am now ready to try some fancy wood.  There is one alteration I would make on the bending iron.  The smaller tube for tighter corners is not getting hot enough.  I will have to make a separate bending iron next time.  I also have my first loss of skin....  First Blood part one.  I sanded right through my glove on the belt sander.  I still have one good middle finger if needed for an outburst :)


Tuesday, February 16, 2016

Side Bending (with Video)


I cut four 1/8X 1 7/16” x 30” strips of maple and spent the evening testing my bending iron……and I broke every single piece!  I used a spray bottle to wet the front and back of the first strip.  My first bend did pretty good but it cracked in a couple of spots.  I tried less water on the next attempt and they snapped right away.  I also experimented only wetting one side with no luck.  There were a few flat spots as well and will have to try bending straps next time. 
As my strips dwindled, I tried wetting a rag and draped it over the hot iron and tried bending the maple on top of the rag.  I think with bending straps and the hot rag technique, I may have better luck the next go around.  I now have a pile of useless bent maple.  It looks like remnants of an angry John McEnroe temper tantrum. 
I will also try thinner strips and bring down to just under 1/8".  I may try soaking the strips first for 5 of 10 minutes and see if that helps.  


My 2nd go around was a but more successful,  but I still ended up with another pile of kindling.  I am getting closer and feel a bit more optimistic than my last attempt.